Showing posts with label Process Pledge. Show all posts

Sunday, December 25, 2011

A Thank-you Quilt

Several months ago, one of my mother's friends generously offered to refinish a table that she was giving to B and me. Since then, I had been planning on making something for him as a thank you. I finally decided upon a strip quilt, which I thought he would be able to use since he has two, very young granddaughters. In order to get it together a little faster than normal, I decided to sew around the edges inside-out and then flip the quilt right-side out through a small opening that I left. I ironed around the edges and then top-stitched to give it an edge. This was certainly much faster than bias tape, but it really complicated the quilting process because it didn't allow me to stretch and baste the pieces of the sandwich together. As a result, many of my quilted lines puckered near the edge where I had top-stitched. Of course, these were really just minor imperfections that disappeared after the first washing/drying.

All of the fabric that I used came from my cousin who donated so many beautiful prints. I enjoyed going through them and figuring out the order for the strips. For the back I ended up using a perky green print with bold flowers. The colors were perfect with the citrus colors on the front.

In the end, the recipient was so pleased with the quilt and used it just a few days later to tuck his granddaughter in for a nap. Great success!

Monday, June 27, 2011

"Something Blue" (Post #5)

I promised this post a long time ago, but hadn't gotten a moment to put it together. I wanted to share some photos that I took while finishing my sister's wedding quilt, which I named "Something Blue." I gave it to her at her bridal shower, and needless to say, she loved it. Yay!

Here I'm pinning the quilt sandwich.

Quilting. I decided to quilt straight lines 1/4" away from the edge of each block. Essentially, I started at the edge of the quilt and then followed the seams. Since I had added a border, I had to eye-ball it from the edge to the beginning of the blocks, but that was only about 7 inches worth of "guess work" each time. I'm pretty sure no one can tell!

Check out the gloves I bought. I had heard about these texturized gloves to help with the quilting process, but I didn't own a pair for my first two quilts. I saw them on sale one day about a month before I was going to need them for E's quilt, so I snagged them. Boy were they a success! I don't know how I ever managed to get a grip of all that fabric and push it through the sewing machine.

In this picture, you can see how the quilting "framed" each block.

Another close-up view of the quilting pattern: two parallel, straight lines in each direction.

For the first time, I decided to use pre-made binding. What a time-saver! I truly think that this "cheat" alone is what allowed me to finish in time for E's bridal shower. My buddy Jackpot talked me into it (she's always so sensible!) and I'm so glad she did. Also, for the first time, I tried machine stitching the binding to the quilt, with mixed results. While it did save me LOTS of time and I do believe that the quilt will be sturdier because of it, it just did not look as nice as hand-stitching. I might give it another try on my next quilt, but we'll see... the jury's still out.

Tada! The finished quilt top. I took this photo with the help of my friend MMC while at work. Yup, that's the school's football field behind the quilt! Wasn't it a beautiful day?! (PS: Neither one of us was tall enough to hold the quilt completely off the ground. I guess that means it'll definitely be long enough for both my sister and her tall fiance!)

That's me!

I tried a new way of signing this quilt. I typed my message, got my sister-in-law to help me reverse the image, printed it onto special ink-jet "paper" and then ironed it onto a leftover piece of the white fabric. I hand stitched the label to the bottom right-hand corner (on the back). I liked that I could personalize the quilt without stressing over embroidery or handwriting! What do you think?

 Here's the back. My hubby is standing on one of our chairs in order to keep it from touching the floor! The stripe on the back has one of each of the ten original fabrics, each set off by a piece of the white fabric. I think it turned out just LOVELY. If I hadn't already promised it to my sister, I definitely would have kept it for myself!

The happy recipient...

...modeling with her quilt,

...and lolling underneath it. I think she liked it!

Saturday, May 14, 2011

Putting the Pieces Together (Post #4)

I thought I'd update everyone on the progress I'm making with my Skipping Stones Quilt. Although I'm making relatively good time, the pieces would be going together even faster if it weren't for my perfectionist streak. With each piece I'm thinking ahead to how the finished block will look, taking into account its orientation, and making careful choices about which pieces I sew together. To give you some examples...

In this block, I decided that I wanted the one, "whole" cat to be upright. That meant that I had to pay attention in order to sew the shorter side pieces on what would eventually become the side of the block. Had I not been thinking about this, the kitty might have ended up side-ways.


Here, I decided it looked best if the bright yellow color was evenly distributed throughout the block, so I turned the blue strips to make three concentrated areas of bright yellow.


Finally, in this one, I spent some time considering how to assemble the three pieces. I finally decided on the combination you see below, because I thought it looked nice with the light blue shapes "flowing" in a curve from left to right. It's very Feng Shui, don't you think?


So there you have it! A little insight into my quilting process.

Monday, May 9, 2011

Skipping Squares Quilt (Post #3)

Well, I finished cutting today, which meant that I got to start my favorite (FAVORITE) part: mixing and matching colors. In terms of the process -- I tried not to have the same combinations of fabric from one block to the next. This was a little tricky to keep track of since there are different kinds of blocks, so I took pictures along the way, so that I could refer to them. Repeatedly. Enjoy!


(This block is my favorite!)

Sunday, May 8, 2011

Skipping Squares Quilt (Post #2)

I'm committed to the process pledge! So here goes...

I've started working on my "Skipping Squares" quilt (pattern from Cluck-Cluck-Sew). BTW: Allison from Cluck-Cluck was so wonderful and sent me a bonus, free pattern along with the one that I actually requested. How cool is that?!

Look at all that yardage, yet to be dealt with...

I'm sure you read (and have since forgotten) about my post from several months ago. You know, the post where I showed off my new collection of prints that I gathered while shopping with Cobble?

Well anyway, this weekend I started cutting. Man do I hate this part! Especially when I have so many little pieces to cut out. Ten fat quarters plus a yard and a half of white fabric had to be turned into over 300 little itty bitty strips and squares. Yuck!

At least the fabric is pretty. That makes is less irritating to work with.

The good thing is that this is guaranteed to look good when it's done.

Sunday, March 6, 2011

Ottoman Slip-Cover

B and I are expecting a house-guest later this week. That meant that I needed to finish at least one of the sun-room-makeover projects: the ottoman slip cover.  It was a work in progress, and much like the beer-jug-cozy, I figured it out as I went along.

Step One:
While in the fabric store, I made a sketch of the dimensions of the 5 faces of the ottoman and used that to plan how much fabric to buy. I used those same dimensions to cut the 45" wide fabric into five pieces.


Step 2:
I sewed each of the four side pieces to the top piece, one at a time, right sides together. I pressed the seams "down" toward the floor.


Step 3:
I placed right sides together and sewed each of the corner seams.


Unfortunately, I had over-compensated too much, so my slip cover was too big. You can see the excess fabric in the picture below.


In order to correct that problem, I tucked the excess fabric underneath itself, creating a small fold on each corner. I pinned these in place and then sewed a one-inch line (from the inside to hide the stitches) to hold the tucks in place.


Yeah, this part didn't go so smoothly. The first time I sewed my one-inch line it showed through to the front.


Here, you can see the one-inch line that I sewed approximately one inch in from the original side-seam.


Step four:
I moved the ottoman to my kitchen floor so that I could accurately measure for length. This ottoman has feet that sink into the carpet, giving me a false sense of height. I put the slip cover on the ottoman inside-out so that I could roll up the bottoms and pin them in place.


Step five:
As a way of checking the accuracy of my pinning job, I measured from the sewing line to the edge of the fold and pinned it into place. Then I ironed each fold to make a crisp edge.


I put the slip cover on the ottoman one last time to make sure that I had done a good job of pinning the bottom. You know how anal I am. And how much I hate my seam ripper!


Step six:
I went back to the folded edges and unpinned them. As I did so, I folded the raw edge under and then re-pinned the fabric into place. I ironed everything again. Finally, I was ready to stitch the "hem" into place.


Step seven:
First I sewed around the bottom of the slip cover -- as close to the edge as I could get.  Then I sewed around the bottom again, this time using the first line of stitches as a guide along which I followed with my presser foot.


All done! I would estimate that this project took me about 3 hours from start to finish. At least now I can finally relax (and see if I can't get a shoulder massage)...

Monday, February 21, 2011

Project: Beer-Brewing-Jug "Cozy"

My brother-in-law-to-be's birthday was in December. You may recall that that was back when I was feverishly working to finish my Gma's Christmas quilt. As a result, I had to give M a coupon good for one "beer-brewing-jug cozy." This was something he had requested of me. It has no name. He's never seen one for sale, but he thought it would be a good invention. Currently, whenever he gets to the beer-brewing-jug stage of the process, he wraps a blanket around the jug. Of course there ends up being way more fabric than necessary. So he requested a cozy. Something to keep the light out.

Let me just start by saying that I have been "planning" this project in my head for MONTHS! I just couldn't quite finalize my plans for how to make a template for this unique shape. I mean, it's big! And it's curvy!


The problem, however, is that I refused to start any other project until this one was finished. (As you may have noticed, I just bought a lot of pretty fabric for my next quilt). This riddle was in my way! And the only reason I hadn't started it yet, was because I was procrastinating. Because there weren't any directions to follow.

So here are the directions I made up for myself:

1] I decided to use pre-quilted fabric so that it would provide a thick enough barrier to keep out the light. There weren't a lot of "manly" fabric options, so I chose this brown with blue swirls because I knew it would coordinate with the colors in M's house. Plus, the blue swirls reminded me of liquid. So it's thematic, right?

2] I started by measuring the height of the straight side of the jug. I gave an extra inch because I knew I would lose some of the length once I sewed it to the other pieces of fabric. It turns out that the extra length worked beautifully because the finished product is about 1/2 an inch too long -- so it rolls out at the bottom and prevents any light from sneaking in.


3] In order to figure out the top, I measured from the edge up to the opening, which was about 5 1/2". Then I measured the circumference at the widest part, which was about 40".  I cut four rectangles 6" by 10 1/2" (having rounded all measurements up by about 1/2" just to be safe). I laid these four rectangles on top of the jug, over-lapping one another, and pinned them to each other. I lifted the rectangle-shapes off of the jug and laid them flat on the table.

4] I didn't take a picture of this next step (darnnit!) but I'll try to explain it to you. The opening of the jug is round, so I wanted the opening of my cozy to be round as well. I measured the diameter of the jug's opening (3"). Then I tied a piece of string to a small pin, which I had stuck in the center of the opening of my rectangles. I measured 1 1/2" (the radius) and marked it on the string. Then I pulled the string and used it to mark 1 1/2" from the center in all directions. This created an accurate chalk-line circle. I used my scissors to trim the edges. See the center circle?


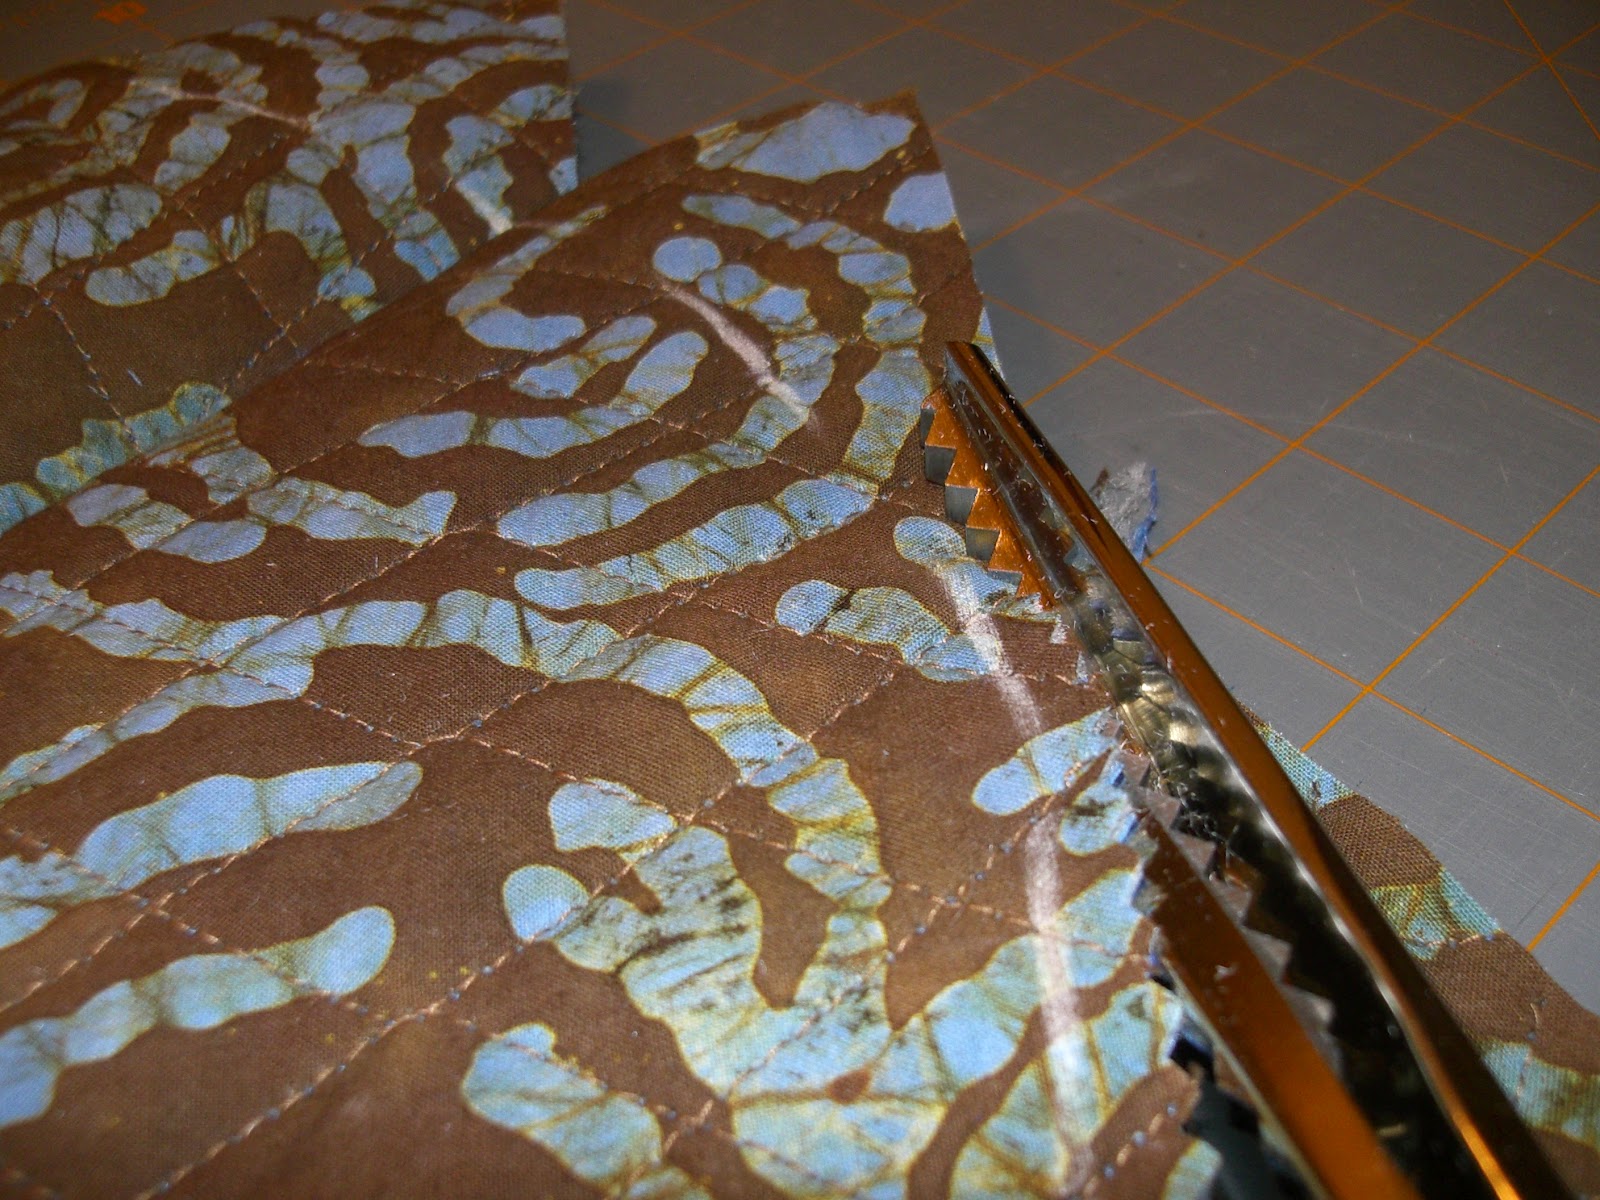
5] Next, I used a ruler and chalk to draw lines from one corner, through the center, to the opposite corner. I did this on both the front and the back of the fabric. Then, I used the chalk lines as a guide (this line represented where I would stitch). I used my pinking shears to cut away the excess fabric, leaving only 1/4" seam allowance.


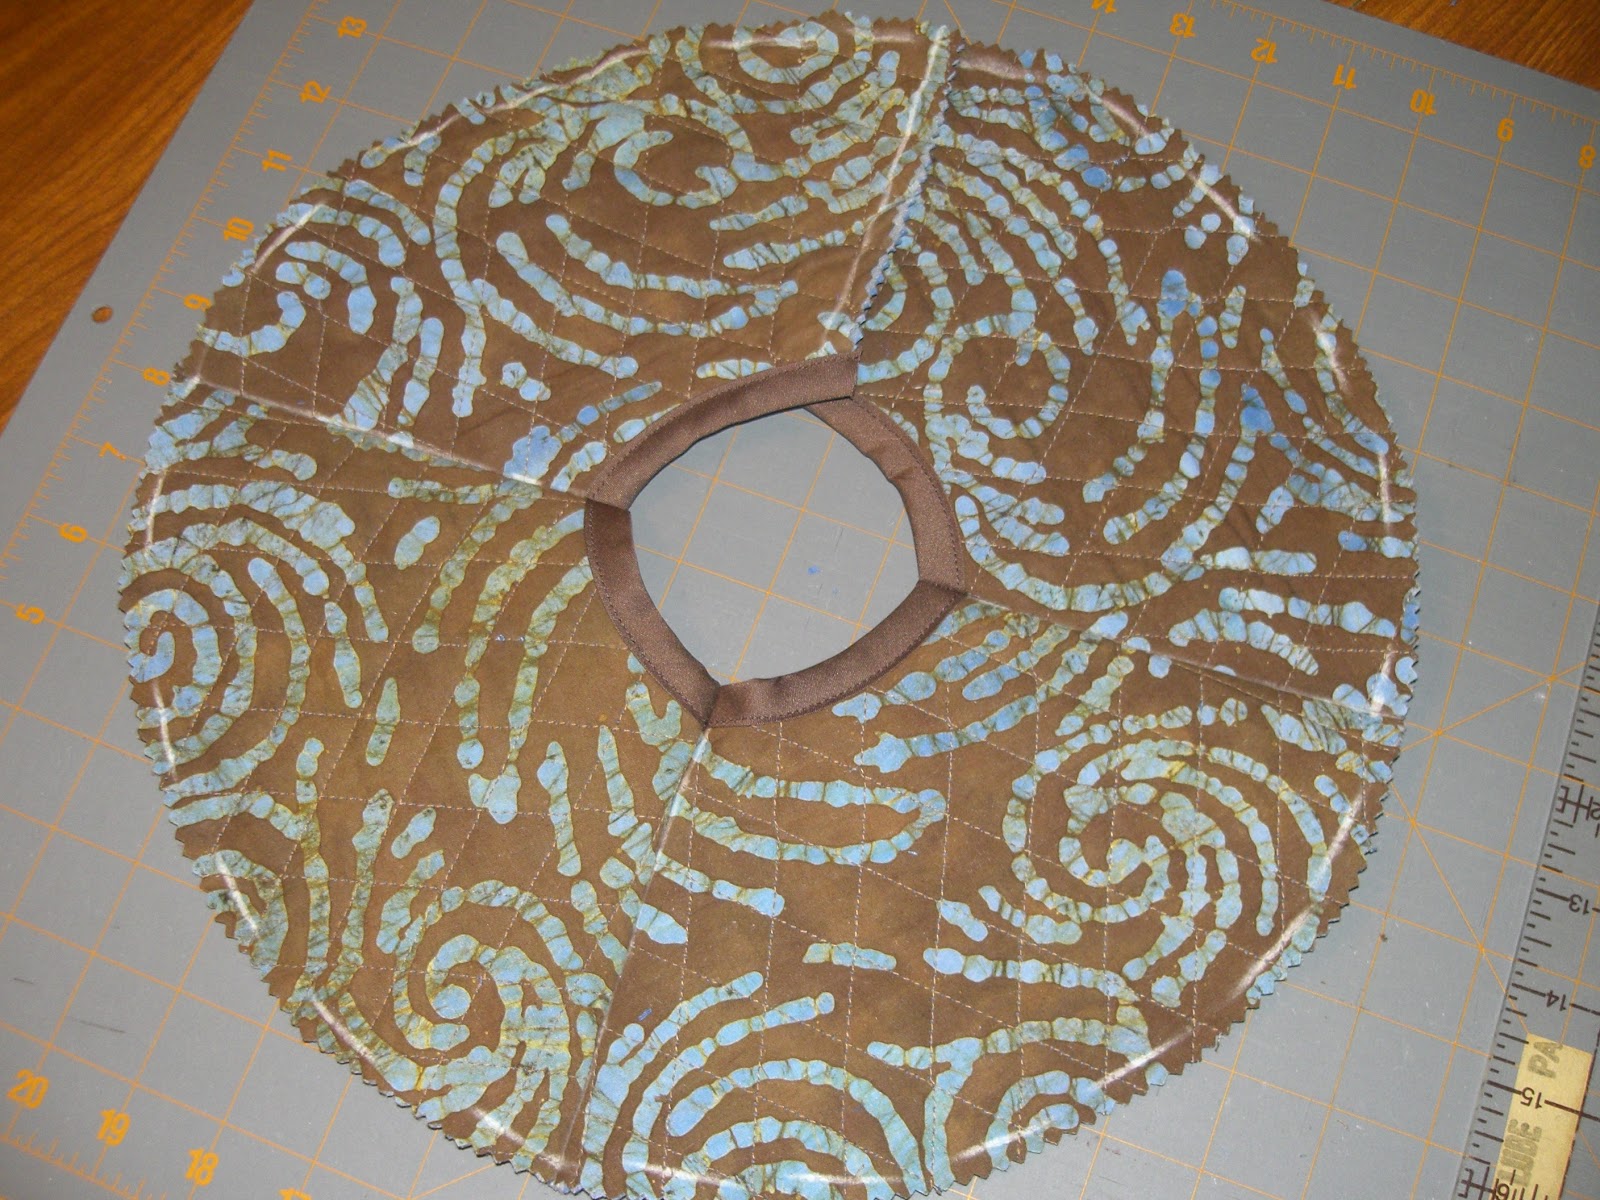
6] Because I was working with pre-quilted fabric, it would have been nearly impossible to fold over the raw edges in order to get a finished look. So, I bought a pack of extra-wide double-fold binding to sew around the edges. Before I stitched the edges of each "triangle" together, I first sewed the binding around the inner circle. I knew it would have been very difficult to sew such a tight circle if I had done it after stitching the triangles together.


7] Now, I was ready to sew the triangles together. Right-sides together, being careful to match the binding on one piece to another. I sewed three of the four seams together. I left the final one open. You'll see why in a moment.


8] Now this time I took pictures! I used the same pin/string technique to make a circle out of the boxy-shape you see above. Again, I measured the radius, marked it on a string, and used chalk to mark the circle. I used my pinking shears to trim the edges.

Measuring and marking the radius on the string using a permanent marker.


Below, you can see I've marked my first measurement in chalk -- right by my thumb.


See the chalk-line circle?


I trimmed about 1/4" outside of the chalk-line circle. The circle indicates where I will sew, not where I will cut. It was important for me to leave some excess fabric (the seam allowance).


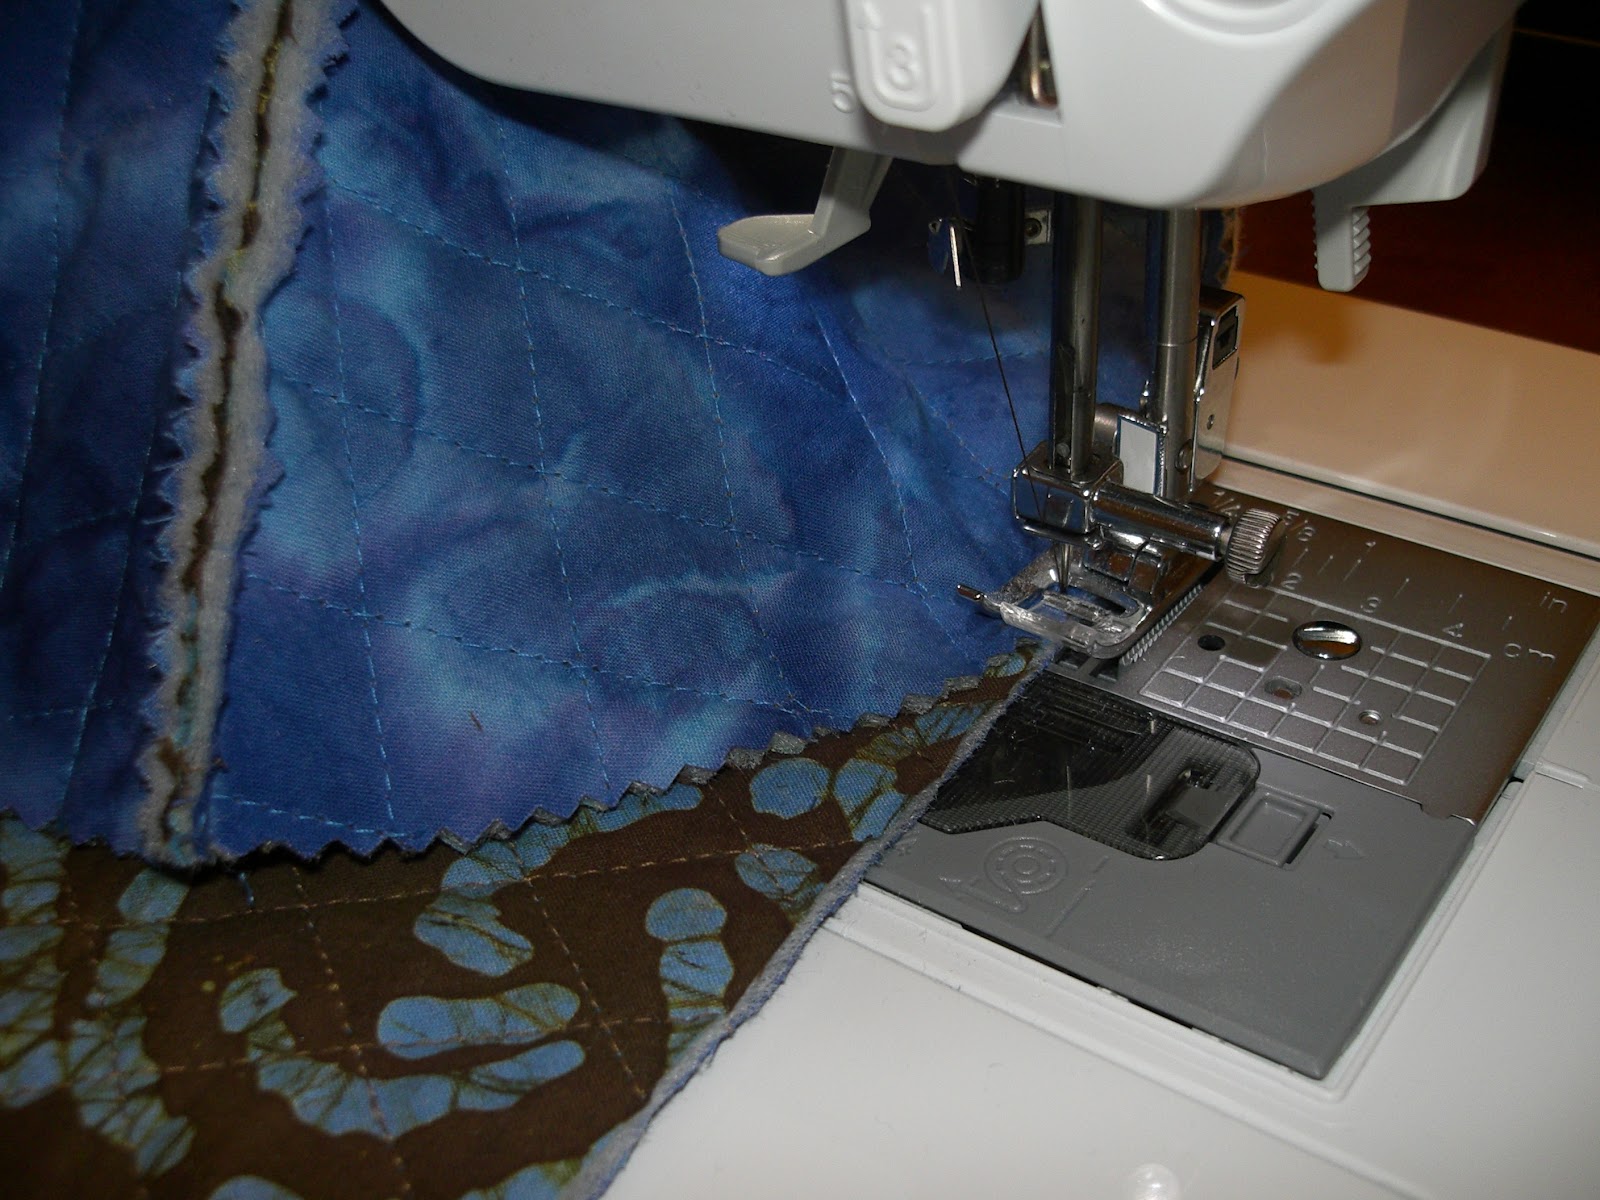
9] Now it was finally time to attach the top to the bottom (right sides together). I started at the open seam in the circle and lined it up with one of the edges of the bottom, rectangular piece of fabric. This was the trickiest part because the top fabric had a curved edge and the bottom fabric had a straight edge. I used two hands and sewed carefully, always stopping to adjust and align the two pieces of fabric.


10] At this point, I sewed the double-fold binding around the bottom edge of the cozy. I decided to sew it at this point in the project (before "closing up" the final seam) so that the raw edges of the binding would get "closed" into the final seam.


11] Last step! I turned the cozy inside-out and put right sides together. I stitched from one end all the way up to the other -- almost as if I was zipping the whole thing closed.


Done! Ta-da!


I even added one of my brand-new tags (a birthday present from my mom). I feel so professional now!

Related Posts Plugin for WordPress, Blogger...